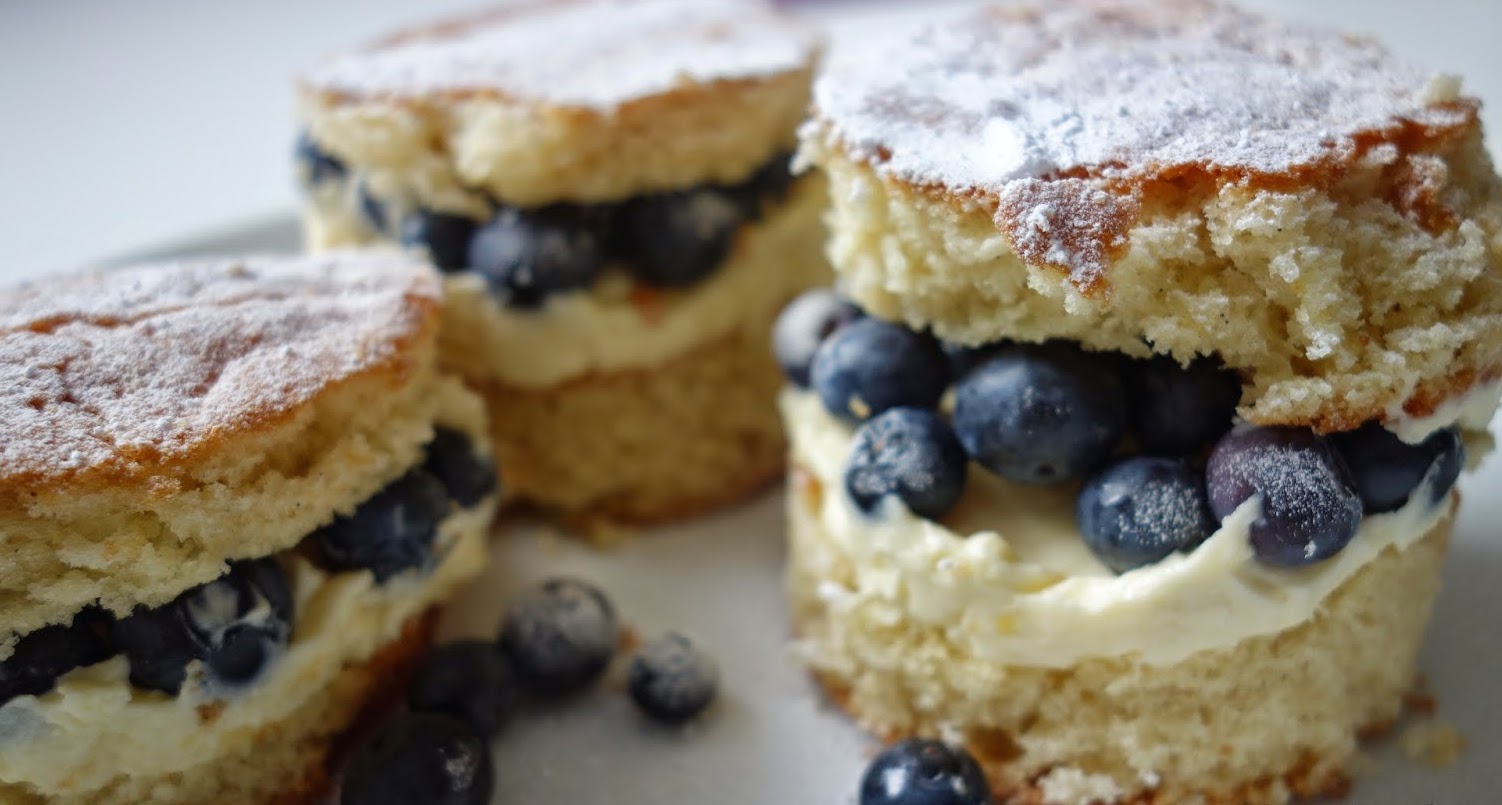

These little delights are so easy to make and they taste as good as they look!
In the photographs I made vanilla and honeycomb cupcakes with a butter cream icing topped with chocolate and honeycomb pieces. But I think chocolate cupcakes would work even better!

You will need...
Cupcake
1 tsp vanilla extract (not essence, never essence!)
Cupcake
1 tsp vanilla extract (not essence, never essence!)
4 oz self-raising flour
4 oz butter (softened)
4 oz caster sugar
2 free-range eggs
4 oz butter (softened)
4 oz caster sugar
2 free-range eggs
1 broken down Crunchie bar (or you could use Oreos, Creme Egg.. the possibilities are endless!)
Buttercream Icing
5 oz butter (Softened)
10 oz icing sugar
1 tsp vanilla extract
1 broken down Crunchie bar
Method...
1. Preheat the oven to 180C/350F/Gas 4 and line your 12 hole muffin tin with paper cupcake cases.
2. Cream the butter and sugar together in a bowl until pale and creamy. Beat in the eggs a little at a time and stir in 1tsp of vanilla extract and broken bits of 1 Crunchie bar.
3. Fold in the flour. Spoon the mixture into the paper cases until they are roughly half full.
4. Bake in the oven until golden-brown on top (this should take 10-15 minutes), poke a knife or fork into the middle of the cake - if it comes out clean its ready.
5. Take them out of the oven and their tin, place them on a wire rack to cool.
6. Now for the buttercream icing, beat the butter in a large bowl until soft. Sieve half the icing sugar and beat until smooth. Then repeat this with the last remaining.
7. Once the cakes are cool its time to add the icing, for all you baking fanatics use a piping bag it always looks bit more special however if you don't have one I've been known to make one out of a sandwich bag. When piping start from the edge and swirl the icing until you reach the centre as you pipe make sure to move higher with each ring complete. Of course a spoon and your fingers are fine if you don't want to pipe!
8. Final stage, add the last bar of broken Crunchie pieces to the cupcakes. I found by using one large piece and scattering smaller bits around it worked better.
Get creative and give it a go!
If I can do it, I promise you anyone can.
I want to hear all about them and don't forget to include photos.


No comments